1618 views
セットアップ IntelliJの場合
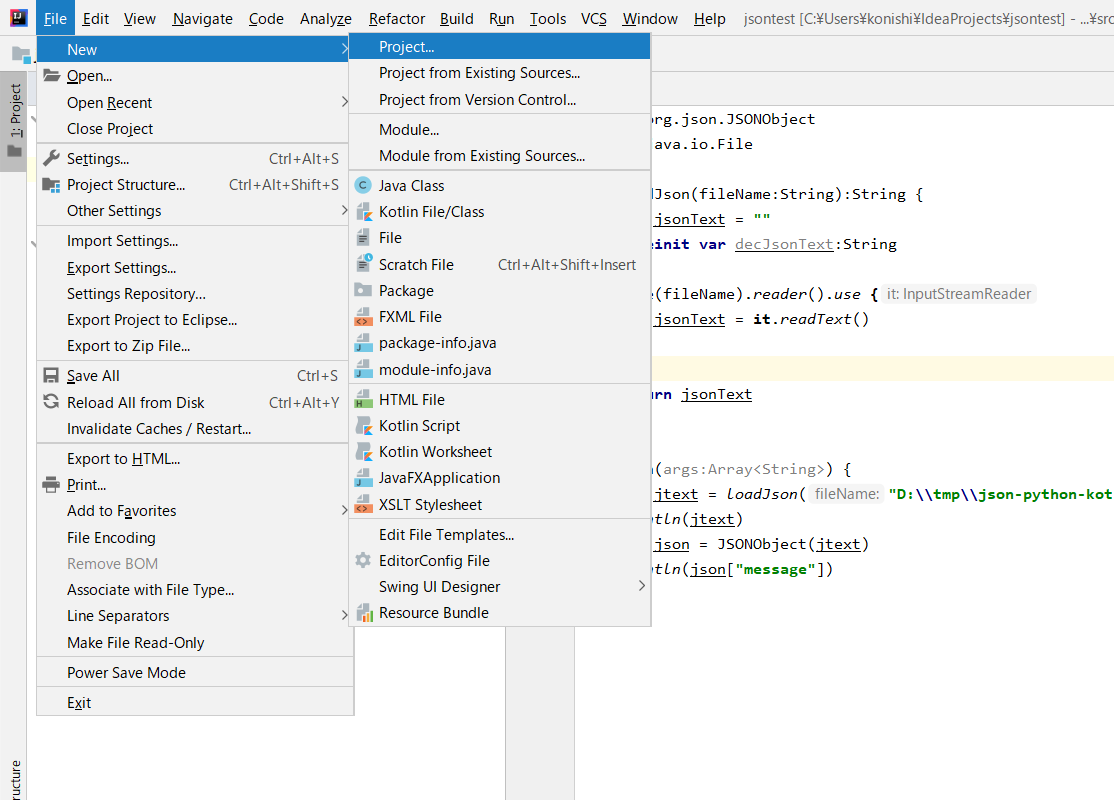
[File]->[New]->[Project]を選択する。
左のペインからGradleを選択し、[kotlin/JVM]を選択する
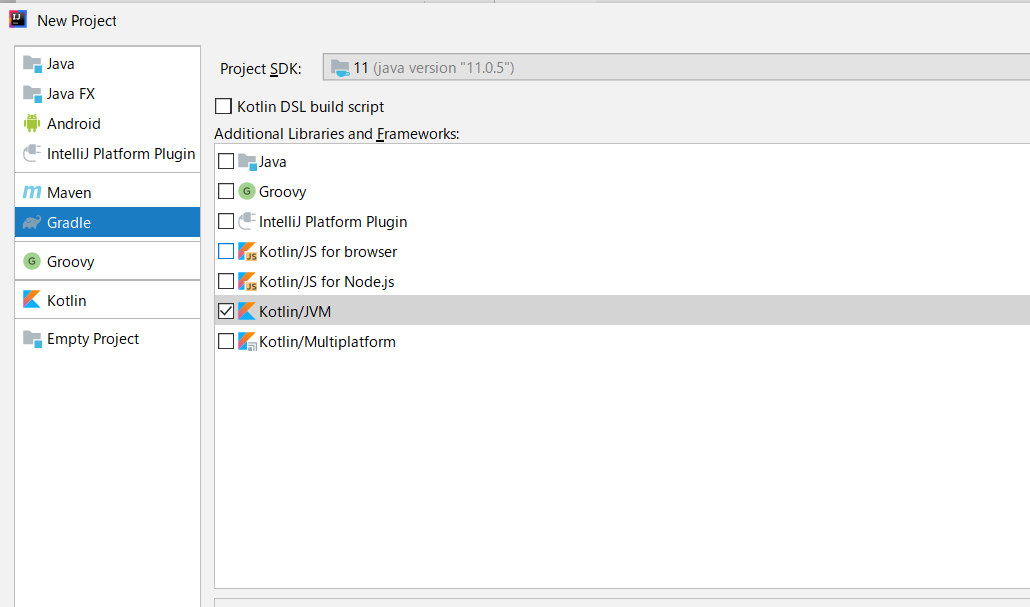
プロジェクト名を入力して[Finish]ボタンを押下する。
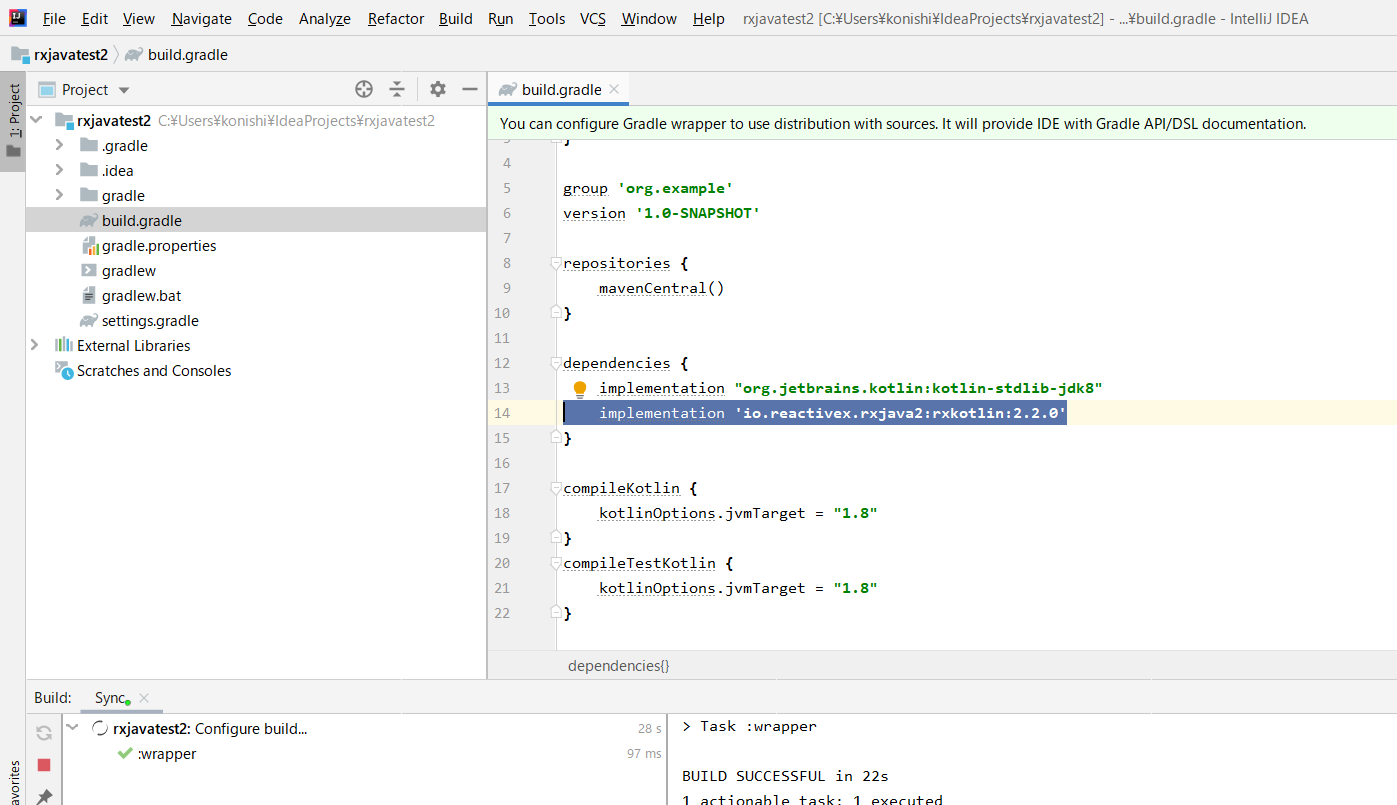
build.gradleを開き、dependenciesに以下を記述する。
implementation 'io.reactivex.rxjava2:rxjava:2.1.14'
implementation 'io.reactivex.rxjava2:rxandroid:2.0.2'
implementation 'io.reactivex.rxjava2:rxkotlin:2.2.0'
src/main/kotlin/app.ktを作成し、以下を記述してrxjavaが動作するか検証する。
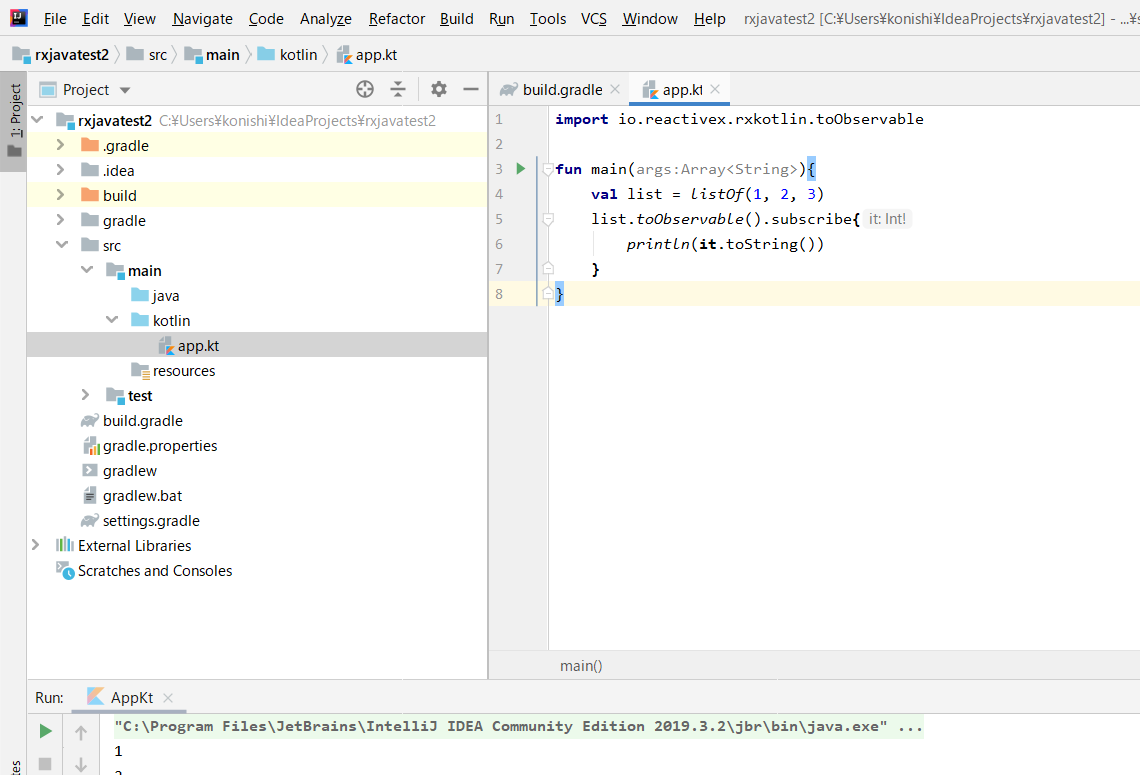
コピーできるように、ソースコードを以下に書いておく。
import io.reactivex.rxkotlin.toObservable

fun main(args:Array<String>){
    val list = listOf(1, 2, 3)
    list.toObservable().subscribe{
        println(it.toString())
    }
}
セットアップ androidの場合
build.gradleのdependenciesに以下を記述する。
    implementation 'io.reactivex.rxjava2:rxjava:2.1.14'
    implementation 'io.reactivex.rxjava2:rxandroid:2.0.2'
    implementation 'io.reactivex.rxjava2:rxkotlin:2.2.0'
全体は以下となる。
dependencies {
    implementation fileTree(dir: "libs", include: ["*.jar"])
    implementation "org.jetbrains.kotlin:kotlin-stdlib:$kotlin_version"
    implementation 'androidx.core:core-ktx:1.3.0'
    implementation 'androidx.appcompat:appcompat:1.1.0'
    implementation 'androidx.constraintlayout:constraintlayout:1.1.3'
    testImplementation 'junit:junit:4.12'
    androidTestImplementation 'androidx.test.ext:junit:1.1.1'
    androidTestImplementation 'androidx.test.espresso:espresso-core:3.2.0'
    implementation 'io.reactivex.rxjava2:rxjava:2.1.14'
    implementation 'io.reactivex.rxjava2:rxandroid:2.0.2'
    implementation 'io.reactivex.rxjava2:rxkotlin:2.2.0'
}
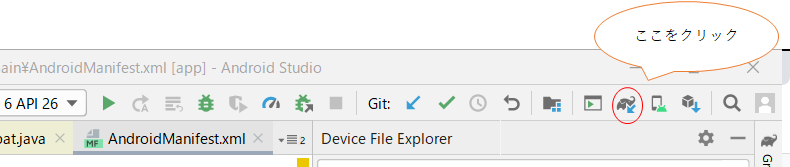
記述した後、以下のアイコンをクリックすると、gradleの変更が反映される。
簡単なサンプルで動作確認
ボタンをクリックしたらrxjavaが動作するサンプルを以下に記す。
package com.example.myapplication

import androidx.appcompat.app.AppCompatActivity
import android.os.Bundle
import android.util.Log
import android.widget.Button
import android.widget.Toast
import io.reactivex.rxkotlin.toObservable

class MainActivity : AppCompatActivity() {
    override fun onCreate(savedInstanceState: Bundle?) {
        super.onCreate(savedInstanceState)
        setContentView(R.layout.activity_main)
        //ここから
        val button = findViewById<Button>(R.id.button)
        button.setOnClickListener{
            rxjavaTest()
            Toast.makeText(this, "クリックされた", Toast.LENGTH_LONG).show()
        }
    }

    fun rxjavaTest() {
        val list = listOf(1, 2, 3)
        list.toObservable().subscribe{
            Log.d("rxjavatest", it.toString())
        }
    }
}
サンプル解説
Page 18 of 36.
[添付ファイル]
お問い合わせ

すぺぺぺ
自己紹介
本サイトの作成者。
プログラムは趣味と勉強を兼ねて、のんびり本サイトを作っています。
フレームワークはdjango。
ChatGPTで自動プログラム作成に取り組み中。
サイト/ブログ
https://www.osumoi-stdio.com/novel/